
Red Hat blog
Overview
In OpenShift 3.7, we introduced two new concepts: Service Catalog and Service Brokers. The Service Catalog is a self-service marketplace where service consumers can find and acquire services. It’s also a place for various service providers to list their services to consumers. (For more detailed information about Service Catalog check out Paul Morie's Service Catalog Deep Dive)
To be useful to service consumers, the Service Catalog needs to be populated with content. This content is made available to the Service Catalog through Brokers, which implement the Open Service Broker API (OSB API). The broker is responsible for informing the Service Catalog of the services it can provision.
Brokers may be responsible for only a single service, for example, a MySQL broker; or they may offer a specific type of facility, like the OpenShift Template broker that supports a collection of services based on templates. Finally, brokers may be generic and a bit more powerful like the OpenShift Ansible Broker, which exposes services based on the Ansible Playbook Bundle (APB) application definition.
APBs provide a new method for defining and distributing simple to complex multi-container services on OpenShift, consisting of a bundle of Ansible Playbooks built into a container image with an Ansible runtime. APBs leverage Ansible automation to create a standard mechanism for automating complex deployments. (For more detailed information about Ansible Playbook Bundles check out the OpenShift Commons briefing by Todd Sanders and John Matthews.)
Now that you know what the OpenShift Ansible Broker is, let's get one up and running.
Setup
As with most applications, there are a variety of ways to set up the broker. This can be done using templates, Makefile targets, or from the OpenShift installer. For this post, we will focus on using a simple OpenShift template to launch the broker.
You will need an OpenShift Container Platform 3.7 cluster running with the Service Catalog enabled. Typically, I just start a cluster with the following command:
oc cluster up --service-catalog=true
Once the cluster is running, we can install the OpenShift Ansible Broker onto the cluster and register it with the Service Catalog. First, we will need a new project to run the broker in. Using the CLI, let's create the ansible-service-broker project.
oc login -u system:admin

oc new-project ansible-service-broker
After a successful run, you'll see something like this:
Now using project "ansible-service-broker" on server "https://127.0.0.1:8443".You can add applications to this project with the 'new-app' command. For example, try:
oc new-app centos/ruby-22-centos7~https://github.com/openshift/ruby-ex.git
to build a new example application in Ruby.
With the project created, we can now deploy the broker. We've assembled an OpenShift template that can be used for this purpose. Let's download the template, process the variables, and create an OpenShift Ansible Broker instance.
curl -s https://raw.githubusercontent.com/openshift/ansible-service-broker/master/templates/simple-broker-template.yaml | oc process -n "ansible-service-broker" -f - | oc create -f -
A successful deployment will look like this:
service "asb" created

service "asb-etcd" created

serviceaccount "asb" created

clusterrolebinding "asb" created

clusterrole "asb-auth" created

clusterrolebinding "asb-auth-bind" created

clusterrole "access-asb-role" created

persistentvolumeclaim "etcd" created

deploymentconfig "asb" created

deploymentconfig "asb-etcd" created

secret "asb-auth-secret" created

secret "registry-auth-secret" created

configmap "broker-config" created

serviceaccount "ansibleservicebroker-client" created

clusterrolebinding "ansibleservicebroker-client" created

secret "ansibleservicebroker-client" created

route "asb-1338" created

clusterservicebroker "ansible-service-broker" created
We now have an OpenShift cluster with the Service Catalog and Ansible Broker running. You can communicate with the Broker through the Service Catalog using the oc command line. Here is an example of listing all the available APB service classes:
oc get clusterserviceclasses --all-namespaces -o custom-columns=NAME:.metadata.name,DISPLAYNAME:spec.externalMetadata.displayName | grep APB
It may take some time for the broker to sync the APBs into the catalog. If you get no APBs at first, run it again in a few seconds. Once they are available we can start provisioning services.
Provisioning Services
As mentioned above, the Broker implements the Open Service Broker API. This API contains some key verbs: provision, bind, and others. Provision will typically deploy a service in your cluster. In the case of the OpenShift Ansible Broker, it provisions a service using the Ansible Playbook Bundle meta-container and invoking the provision playbook.
For our service provisioning example, we're going to walkthrough provisioning MediaWiki which is backed by a PostgreSQL database. This is accomplished by first provisioning a PostgreSQL instance and then the MediaWiki service.
Once the two services have been provisioned, we will tie them together by creating a binding between them. Bind is another one of the OSB API verbs used to provide credentials/coordinates for specific services. Like the provision operation, the Broker uses the PostgreSQL APB meta-container and invokes the bind playbook to create the binding.
Let's recap, first, we will provision two services using APBs: PostgreSQL and MediaWiki. Next, we create and consume the binding to the PostgreSQL database instance. Finally, we will verify the MediaWiki service is up and running.
Provision PostgreSQL
Using the PostgreSQL APB, we're going to provision a PostgreSQL database instance to use with MediaWiki service.
- We need to visit the console UI at https://127.0.0.1:8443, and after accepting the certificate, you should see the login screen:
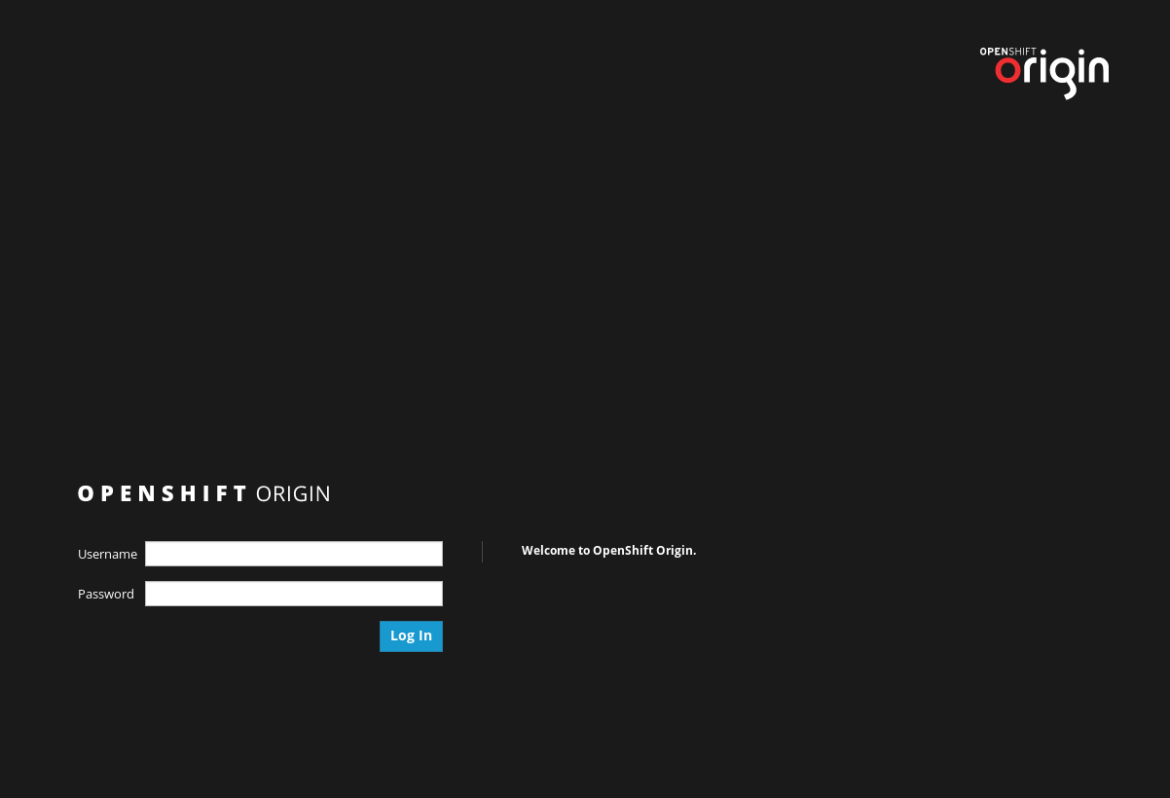
-
Login with
admin:admin. You should see a list of services, some marked with APB after the service name:
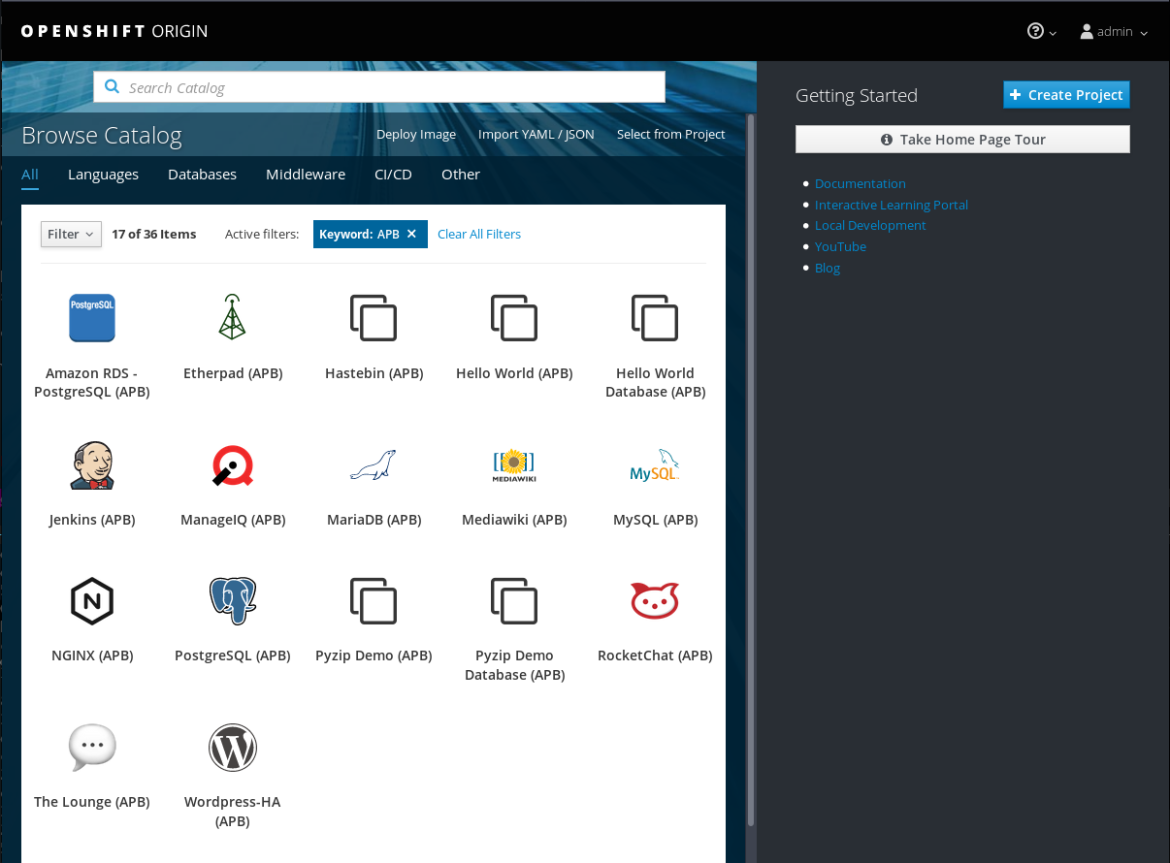
-
From the list of services, select the PostgreSQL (APB). You will be prompted for some information as you proceed with provisioning the service.
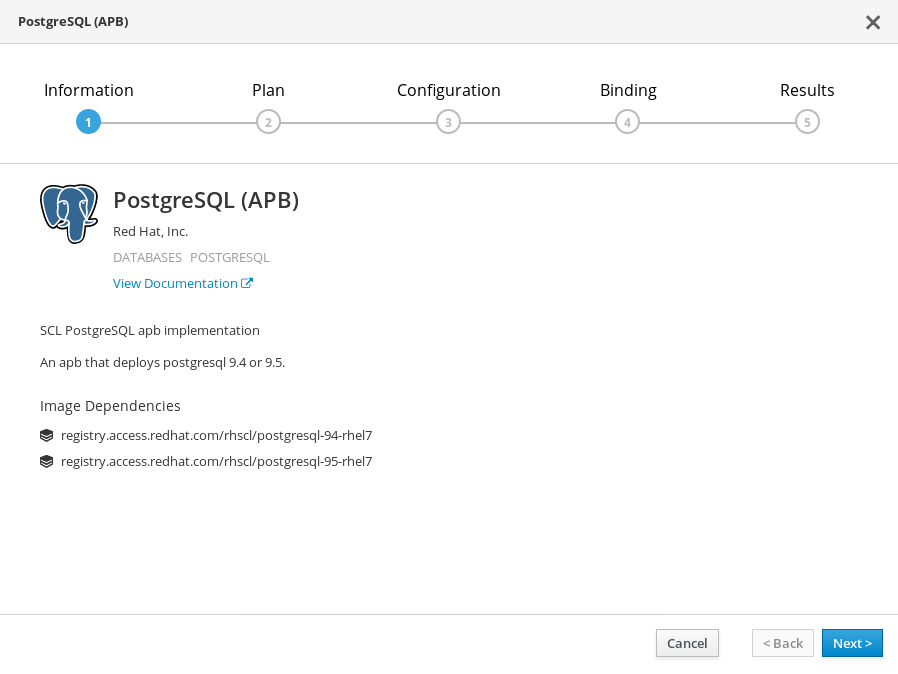
-
Next step is to choose a plan. For this deployment, you can just select the Development plan.
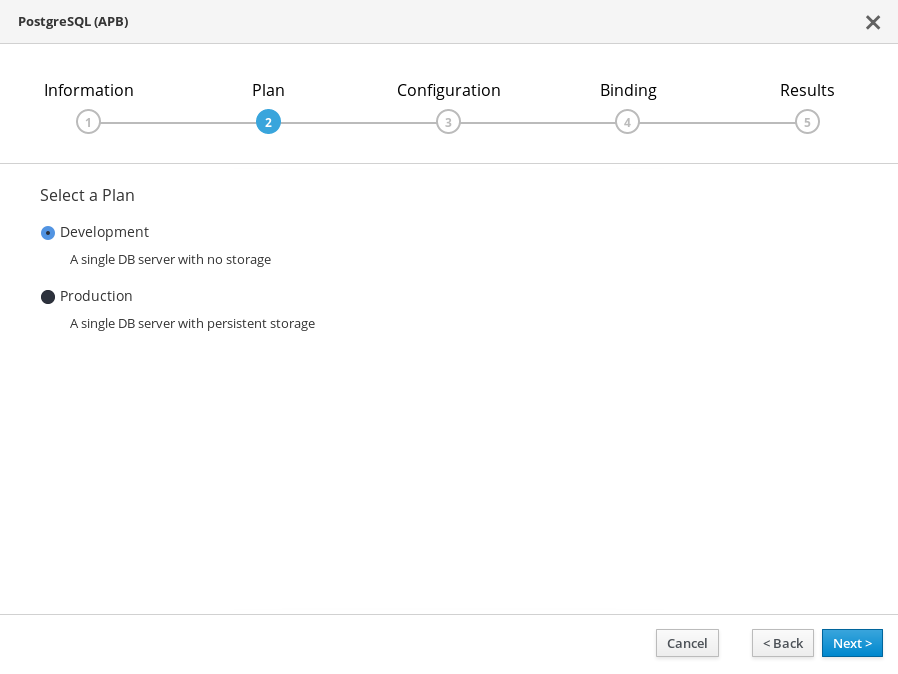
-
The configuration screen will ask you for some information. Create a new project named blog-project to fill in the display name of Blog Project. Finally, enter a password for the database instance. It is fine to keep the other values as defaults.
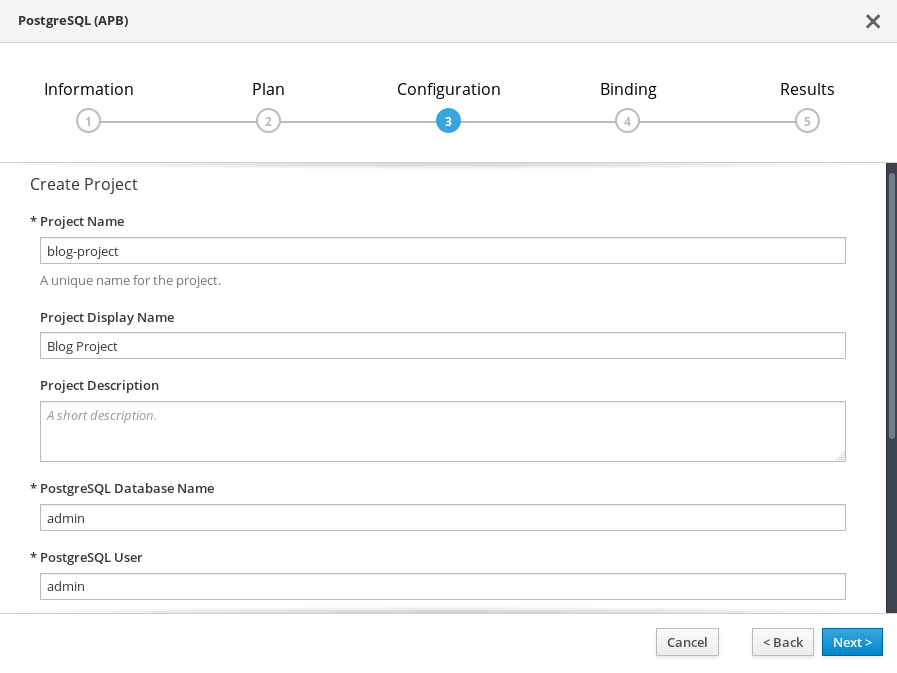


To summarize, we selected the PostgreSQL APB to provision a PostgreSQL database service instance. We created a new project to deploy the service to. We supplied some configuration parameters for the service. These parameters are actually supplied by the PostgreSQL APB. It's part of the service's metadata which is exposed to OpenShift. This allows the UI to be catered for a given service. We will see a different set of parameters when we provision the MediaWiki service later on.
One concept you may have noticed during the provisioning operation was the notion of service plans. Service plans are another OSB API concept that is akin to tiers or pricing plans. For example, you could have a development plan that provides minimal resources, lower cost, and little to no persistence storage. This would let users use a service for development purposes at a lower price. Or you could have, for example, a production plan that has high-availability, a good amount of persistence storage, and more resources. The PostgreSQL APB exposes two service plans: development and production.
Create the Binding
A binding is a link between two service instances. To save time, we'll create a binding while provisioning the PostgreSQL service instance. This will save the credentials for the PostgreSQL database into a secret that can be shared with other services.

While the PostgreSQL APB provisions the database service instance, we can move on to provisioning MediaWiki.

Provision MediaWiki
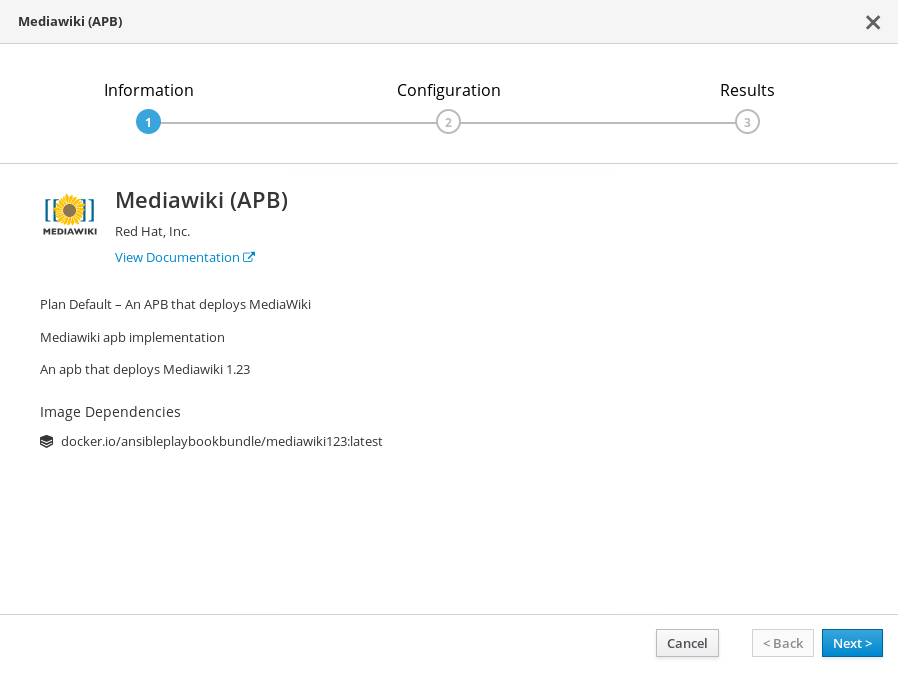
Using the MediaWiki APB, we're going to proceed with provisioning the MediaWiki service.
- Start by selecting MediaWiki (APB) from the Service Catalog.
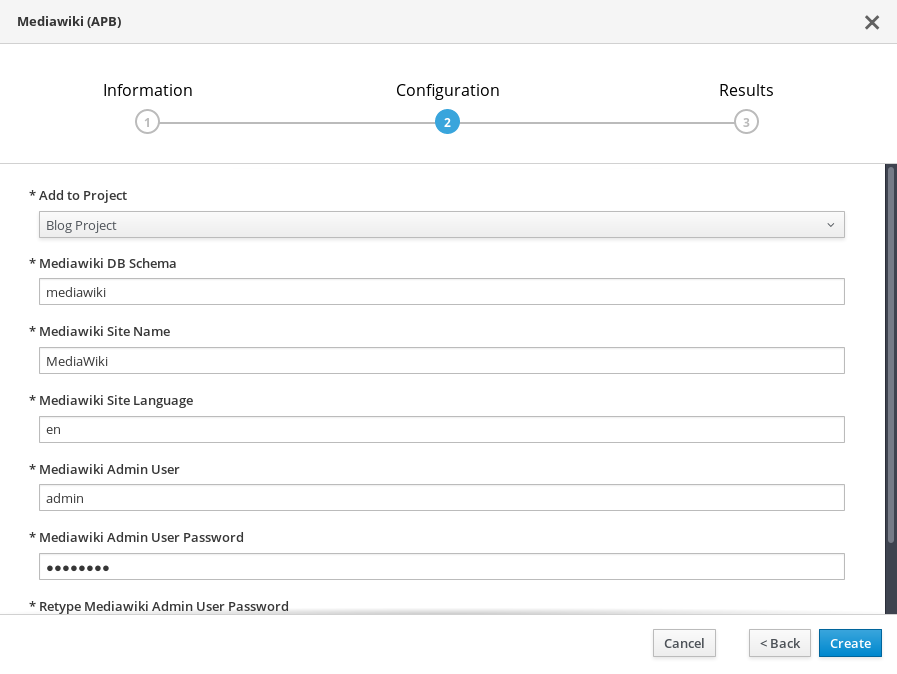
- In the Add to Project drop-down select the Blog Project that we created earlier. Also, enter in passwords. (Note: You can not use "admin" for the password as the service instance will not start up.)
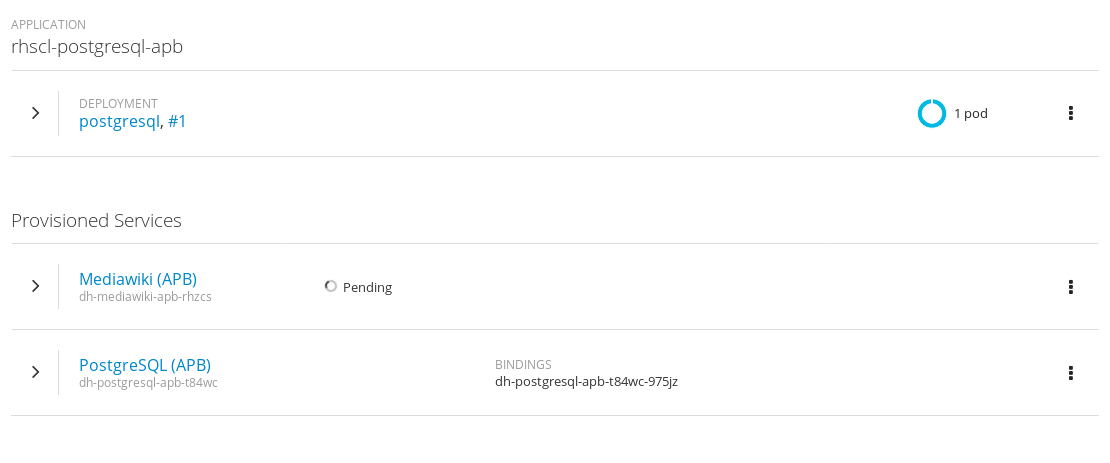
- If we look in the Blog Project project, we can see the MediaWiki service deploying, and the PostgreSQL service should now be deployed.
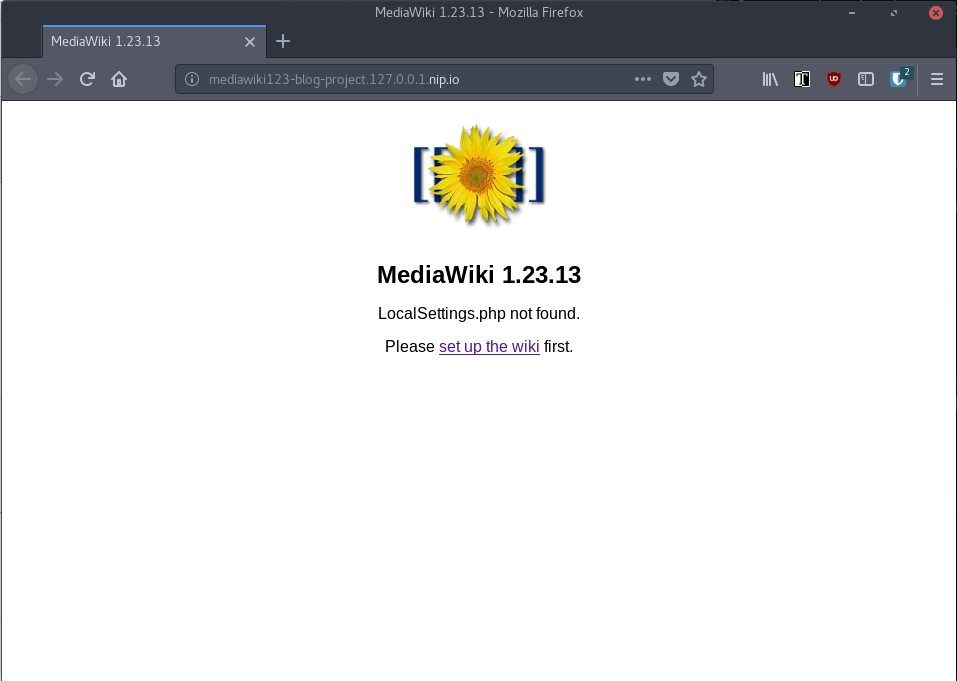
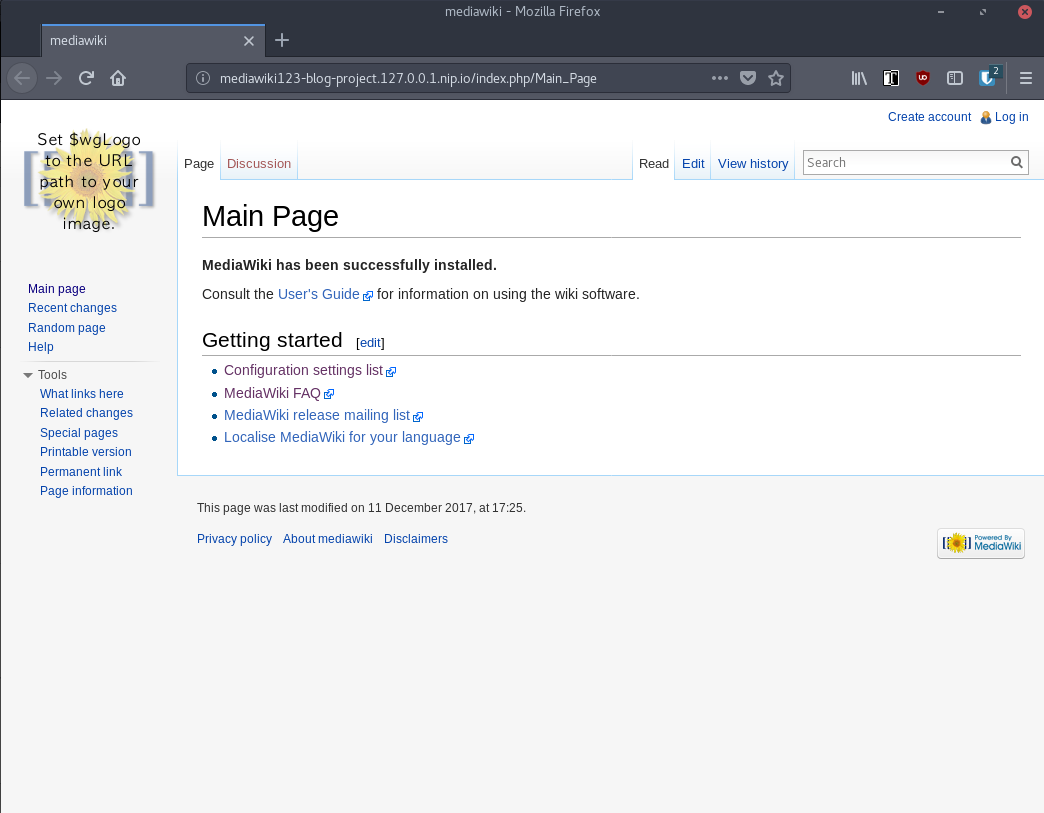
- Once MediaWiki has provisioned, we can open the URL in a web browser to connect to the service. You should see the default start page. Take note of the error message as the service is not set-up yet as we still need to bind MediaWiki to the PostgreSQL database.


Consume Binding
With the PostgreSQL database and the MediaWiki services provisioned, we can now bind them. Since we created a binding during the provision phase for PostgreSQL, all we need to do is add this binding to the MediaWiki service.
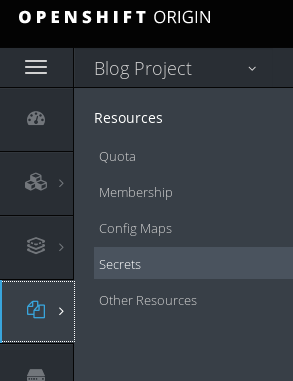
- Navigate to the Secrets menu of the Blog Project project.
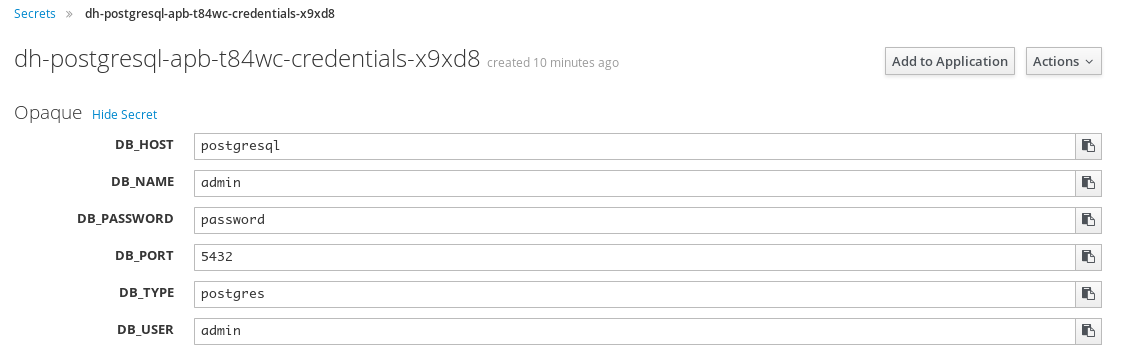
- Select the
dh-postgresql-apb-*-credentials-*secret. Click the Add to Application button.
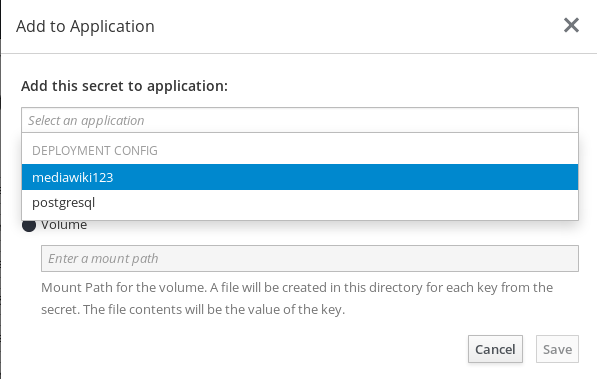
- From the Add to Application modal, select mediawiki123 from the list. And choose Environment variables.
- Adding the secret to the MediaWiki environment will cause the application to be redeployed automatically.
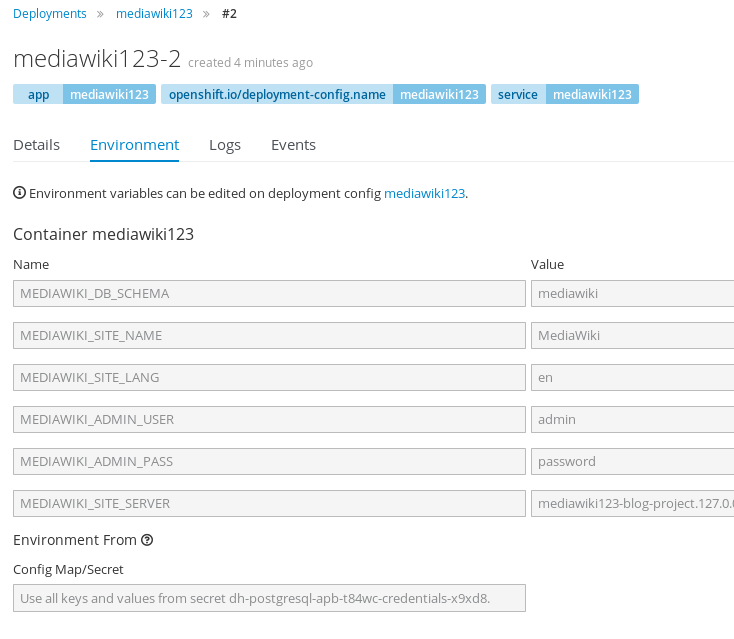
- We took the PostgreSQL binding and added it to the MediaWiki service instance. When the MediaWiki service redeployed, it consumed the environment variables to know what database instance to connect to. If we revisit the MediaWiki web page again, we'll see that it's up and now fully configured.


List the Services from the CLI
The Service Catalog UI isn't the only way to interact with the Broker. We can also list the provisioned services using the CLI.
$ oc get serviceinstances --all-namespaces

NAMESPACE      NAME                      AGE

blog-project   dh-mediawiki-apb-rhzcs    1m

blog-project   dh-postgresql-apb-t84wc   7m
Let's check out the secrets in the 'blog-project'
$ oc get secrets -n blog-project | awk -F, 'BEGIN{IGNORECASE=1}; NR==1 {print $1}; /^dh/ {print $1}'

NAME                                        TYPE                                  DATA      AGE

dh-mediawiki-apb-parametersch7a5            Opaque                                1         22m

dh-postgresql-apb-parameters43rfr           Opaque                                1         28m

dh-postgresql-apb-t84wc-credentials-x9xd8   Opaque                                6         27m
To reiterate, we brought up an OpenShift Container Platform 3.7 cluster, deployed the OpenShift Ansible Broker, listed and provisioned a couple of services using APBs to perform the task.
Come Check out OpenShift Ansible Broker
If you would like to know more about the OpenShift Ansible Broker I encourage you to check out the project at: https://github.com/openshift/ansible-service-broker/
Also consider subscribing to:
- IRC: Freenode #asbroker
- Mailing list: https://www.redhat.com/mailman/listinfo/ansible-service-broker
- Github: https://github.com/openshift/ansible-service-broker/
- YouTube: ansible-service-broker