Red Hat blog
This tutorial walks you through the creation of an application titled myapp. Before going through the rest of the tutorial, be sure to have created an OpenShift account and installed the oc command line tools.
Step 1: The sample application and git repository
Sample Java Web application
The sample application used in this tutorial is a simple Java Web application with a single Jsp file that prints out a Hello World message.
Even though it’s a minimal application it will serve well to describe the basic concepts. You do not have to use our sample application, but for the first steps it might be helpful.
Git repository hosting
To create a new application you need to have your source code hosted somewhere on the internet and have it accessible using git. Popular choices are GitHub, GitLab or BitBucket. For example, our sample application is hosted at GitHub. For this tutorial you may use the code from the provided repository or you can fork the repository. Forking is necessary if you want to follow also through Step 2.
Step 2: Creating new application
Creating new application using terminal
Once ready, open a terminal and at the command prompt, enter the following command to create a Java web application (replace the username URL if you have forked, or the whole URL if you are using your own application):
<code>oc new-app --name=myapp jboss-webserver30-tomcat8-openshift~https://github.com/openshiftdemos/os-sample-java-web.git</code>
And the output should look something like this:
--> Found image 298446b (7 weeks old) in image stream "jboss-webserver30-tomcat8-openshift" in project "openshift" under tag "1.2" for "jboss-webserver30-tomcat8-openshift:1.2"JBoss Web Server 3.0
--------------------
Platform for building and running web applications on JBoss Web Server 3.0 - Tomcat v8Tags: builder, java, tomcat8
* A source build using source code from https://github.com/openshiftdemos/os-sample-java-web.git will be created
* The resulting image will be pushed to image stream "os-sample-java-web:latest"
* This image will be deployed in deployment config "os-sample-java-web"
* Ports 8080/tcp, 8443/tcp, 8778/tcp will be load balanced by service "os-sample-java-web"
* Other containers can access this service through the hostname "os-sample-java-web"
--> Creating resources with label app=os-sample-java-web ...
imagestream "os-sample-java-web" created
buildconfig "os-sample-java-web" created
deploymentconfig "os-sample-java-web" created
service "os-sample-java-web" created
--> Success
Build scheduled, use 'oc logs -f bc/os-sample-java-web' to track its progress.
Run 'oc status' to view your app.
The --name=myapp names the application. By default it would be the base name of the URL without extension, in our case os-sample-java-web, but it’s much nicer to have the application named myapp and that’s what we did using this switch.
OpenShift automatically linked Tomcat8/JBossWebServer with version 1.2 of the jboss-webserver30-tomcat8-openshift image, that corresponds to the current latest version. You could as well use jboss-webserver30-tomcat8-openshift:1.2 as prefix to deploy using the specific version, e.g.
<code>oc new-app jboss-webserver30-tomcat8-openshift:1.2~https://github.com/openshiftdemos/os-sample-java-web.git</code>
OpenShift prints a lot of information that is not that important for us at this moment, what we care about is if our application is accessible from the internet and if we can see it running. For exposing application to the outside world, OpenShift has a concept of routes that map domain names to specific applications. To expose our application we need to know the name of the internal service in all the information printed when we created our application it’s this line service "sample" created.
OpenShift automatically created new service, according to the name of the application. Now, let’s expose that service, to do that, run this command
<code>oc expose svc myapp</code>
<code>route "myapp" exposed</code>
Now we can run oc status to get information about your deployment
<code>oc status</code>
http://myapp-sample-project.44fs.preview.openshiftapps.com to pod port 8080-tcp (svc/myapp)

  dc/myapp deploys istag/myapp:latest <-

    bc/myapp builds http://github.com/openshiftdemos/os-sample-java-web#master with openshift/jboss-webserver30-tomcat8-openshift:1.2

      build #1 succeeded 2 minutes ago - 74cdd67: README added (Jorge Morales Pou <jorgemoralespou@users.noreply.github.com>)

    deployment #1 deployed 2 minutes ago - 1 pod
There again is a lot of information that we mostly do not care about at this moment but what we need is the first line. It shows you the domain, your application is available at. To access the application, simply open the domain in your browser of choice and you should see a Hello World message.
Creating new application using web console
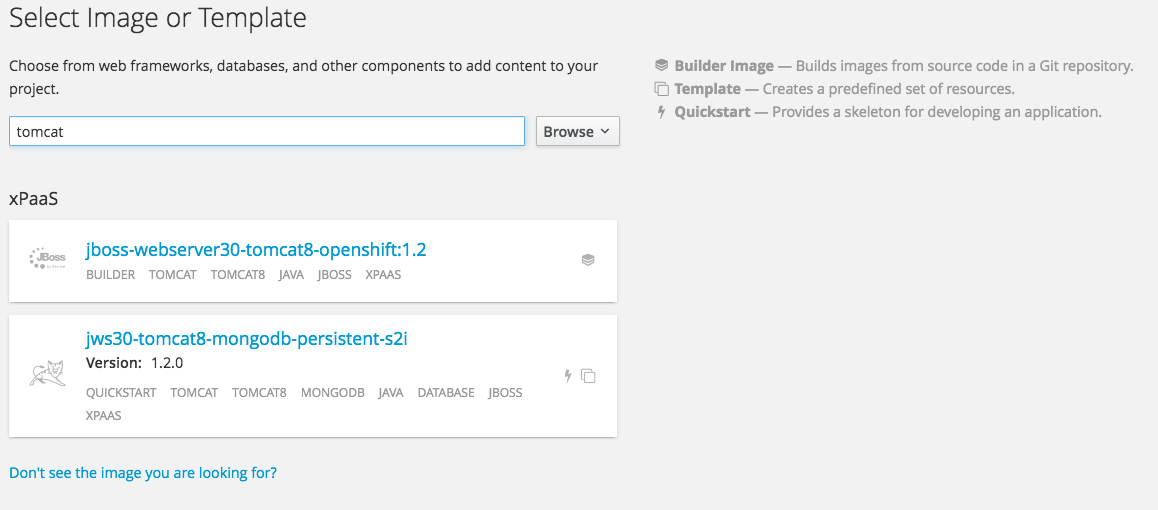
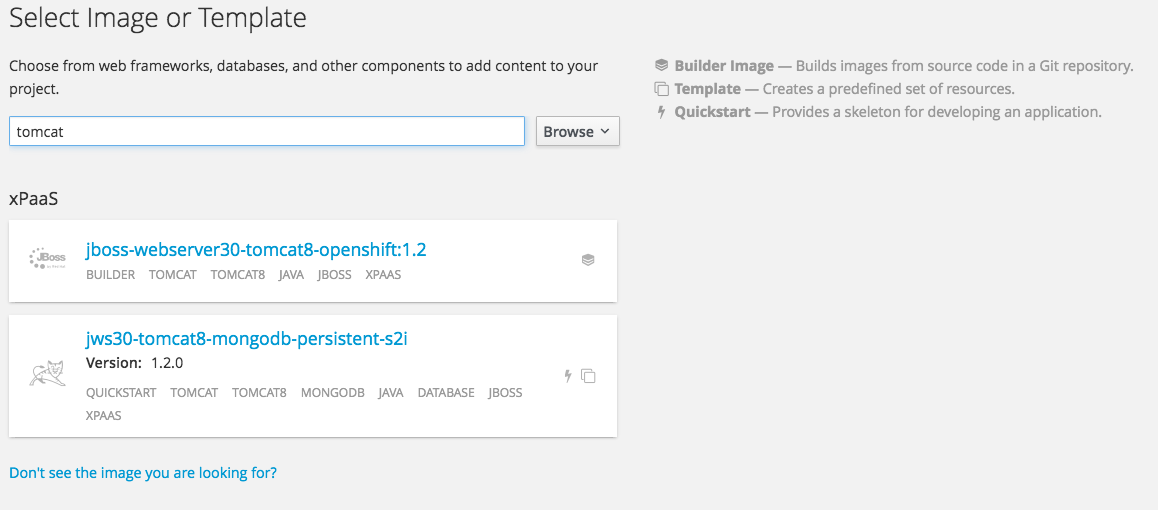
You can deploy your application using web console as well as with cli tools. To deploy using web, click on the Add to project in the top bar. Then type tomcat into the Filter by keyword text field. And you will see list of Tomcat/JBossWebServer based templates similar to
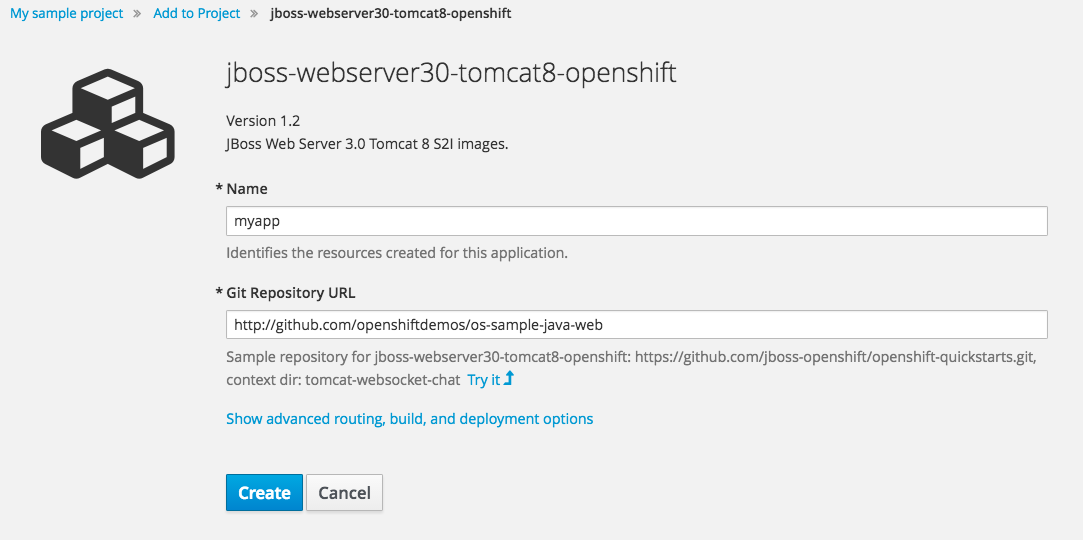
jboss-webserver30-tomcat8-openshift:1.2 and fill in the form like this:
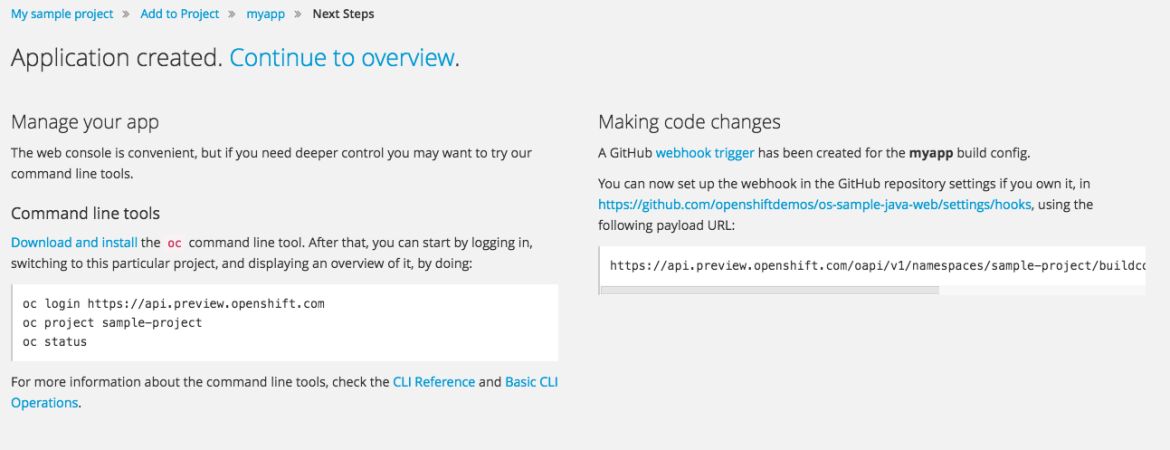
Create and you will be taken to summary page like this:
Continue to overview. On the overview page you will see detail of your new deployment similar to:
Clicking the URL in the top white box will take you straight to your newly deployed application that will show the Hello World message.
Step 3: Making first changes
To make changes to the application, you need to fork it and deploy from your own fork instead of from the original repository of the sample application. That means, that for creating the application the URL will have a different username/organization.
<code>oc new-app --name=myapp jboss-webserver30-tomcat8-openshift~https://github.com/[your user name]/os-sample-java-web.git</code>
Except for that, the whole process process in the Step 1 is the same.
Editing the source code
You can edit the source code in GitHub’s web based editor. If you choose to do so, there is no need to copy the source code to your local machine and can skip directly to Step 2.2.
Or you can clone the repository locally, edit the file, and push back to the server. To do so, first clone the git repository and enter the new directory
git clone https://github.com/[your user name]/os-sample-java-web.git

cd os-sample-java-web
Edit the src/main/webapp/index.jsp file to your liking and commit the changes
git add -A .

git commit -m "My application changes"<code>git push origin master</code>
And that’s it, the change is in the git repository, now let’s go and deploy it.
Deploying the changes using terminal
OpenShift already knows how to reach your git repository as it did while first deploying the application. As it created the service that we referenced before it also created buildconfig:
buildconfig "myapp" created.
Note
BuildConfigs contain information necessary for building an application. It also contain information what strategy should be used for building it. In our case the strategy isSource. For strategy from source it contains the URL of git repository to fetch the source code from and other important stuff.
You can check more details by runningoc describe bc myapp.
BuildConfig is the reference for building stuff and allows us to trigger the building process, to do this run
<code>oc start-build myapp</code>
And you should see something like this:
<code>myapp-2</code>
Once the build finishes, refresh your browser with the application and you shall see the changed you just made.
Deploying the changes using web console
The web UI allows you to trigger builds as well. In the web console go to Browser → Builds and there you will see a line similar to
myapp and on the next page click the
Start Build button in the top right corner.
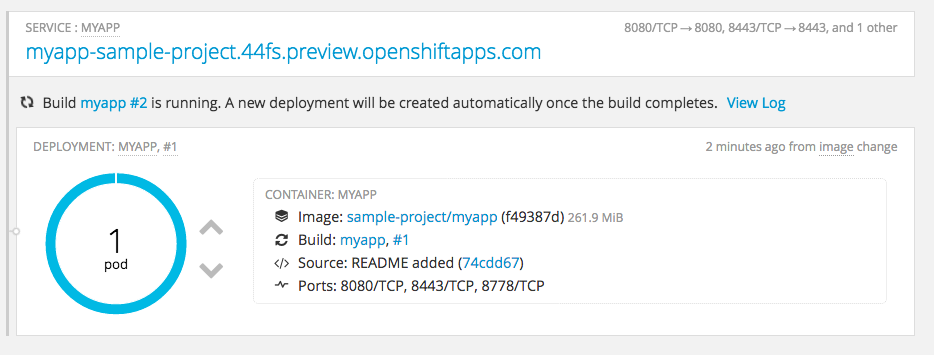
Then click Overview in the main left navigation panel. You will be taken back to the overview page, where you will see that you build is running:
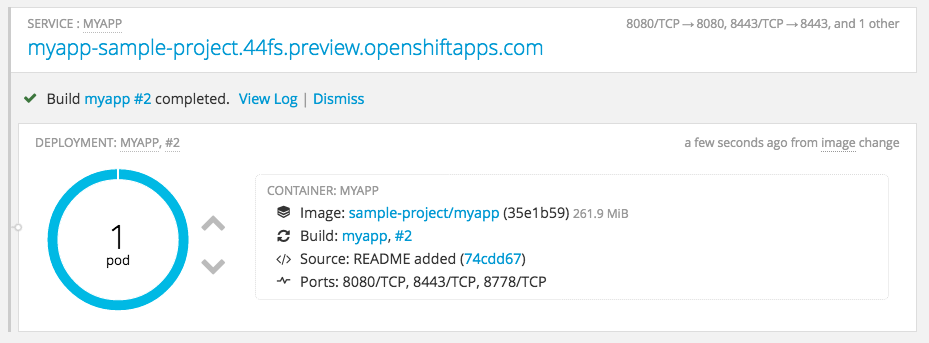
And once finished:
You can again click your application URL and see the changes.

